"To Bash or not to Bash, THAT is the question"
-Anonymous Beginner Modeler who likes theater. -__-;
KITBASHING. We all know what it is, we all have an idea of how to do it, most of us have already tried it, some have perfected it, some overdo it, and a few have no idea where to even begin.
Do a google search of "kitbash gundam" and you'll find lots of examples.
YOU'RE DOING IT RIGHT :
(credits to the modeller, pic is not mine, found it off the web)
YOU'RE DOING IT A BIT WEIRDER THAN USUAL :
For beginner/newbie modelers like myself, kitbashing is a fast and easy way to make a build look good (not always!) with the least amount of effort. I dare say that its EASY because being inexperienced, one would probably think of the KITBASH process flow as something like this:
pick a MAIN kit --> get a 2nd kit --> Take COOL parts from the 2nd kit --> find a spot to place the COOL parts --> SUPERGLUE!!! >=[
true, you could probably build a SAZANJU with your wonderfully expensive kits with a bit of crafty placement and lotsa superglue, but you'd probably end up with a pretty expensive pile of sh*t if you don't spend the time to really think about the following :
- Cost of the kits you'll be bashing
- Harmony of the look of the kits
- Proper FIT of parts
- Articulation of the main kit
- Method of part attachment
lets go over them one by one.
- COST - before even getting your itchy kitbashing fingers on a kit, think about its cost. Is it really worth sacrificing its parts so that the other kit would look good? What would you do to the remaining parts? Do you have other scraps from previous builds? Kitbashing is expensive so do it wisely. If your CONCEPT demands a kitbash, then by all means, do it, otherwise, try to source parts from other things such as household items and whatnot.
- HARMONY - As a pseudo-rule, i tend to avoid bashing ZEON kits with EFSF kits because of the harmony of the look. Most Zeon units have round/curved parts while EFSF units of course offer a much more practical straight edged array of pieces. It may be cool in your head to bash a Qubeley with a Mk-ii, but before you make things permanent, better test fit them first and look at the 'abomination' from afar. Harmony after all, makes a build look like an ELEGANT SWAN rather than a char-broiled, chopped up, peking Duck. yum! :p
- FIT of PARTS - ok, so you still feel like you're Zeta Gundam looks good wearing Gogg parts, but it doesn't make it any easier to glue em together. Fit of parts make it easier to kitbash, and it makes it look more polished. When bashing parts, i find that it is better to find that snug-fitting part rather than forcing a non-fitting cool part to fit.
- ARTICULATION CONSIDERATIONS - yep, that 1-foot zoids gun looks awesome on a 1/144 seraphim gundam, but can it still move? or stand for that matter? Harmonious-looking-parts-that-actually-fit sometimes tend to limit articulation due to the fact that its, well, not made for that kit. the solution? mangle some more! sometimes you've just gotta cut a few protruding pegs or material so that articulation would be minimally affected. When in doubt though, try a little sanding and shimmy-ing :)
- METHOD of ATTACHMENT - parts usually fit together via polycap and peg, other times its via matching slots in the parts. it was built that way so that it could fit snugly. Hence, as much as possible, try using the "female" and "male" parts in order to achieve a better fit. Before gluing the "cool part", try looking at it in its original form, who knows, you might even get a better solution.
In closing, being a newb in this hobby is stressful to say the least. But stress means that you're leveling up. You're not contented with just using glue anymore, you explore the possibilities of putty, builder's parts etc. After a few builds, you'll eventually want to do more, you'll want to explore more options, find better parts, heck even build your own parts! :D the possibilities are endless!
but for now, BASH away! :D who knows? you might end up with a masterwork like this one : (credits to GBWC 2012 japanese entry)

Read more >>


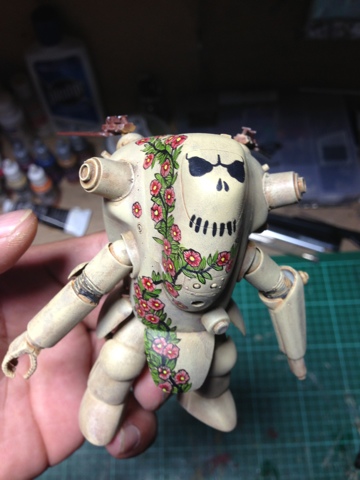
 Link to original post in my blog: http://meistersleek.blogspot.com/2013/04/hg-shaldoll-echo.html


.JPG)
.JPG)