Pages

Showing posts with label tutorial. Show all posts

Tuesday, July 23, 2013

Blessing in disguise...

Last Sunday, I had a spare to do some grocery after going to church. Whenever I go to the supermarket, I usually end up having six to eight bags of grocery items. But this time it was unusual, no more signs of grocery bags in the supermarket, all I can see are either brown bags for dry goods, then some eco bags for wet goods. It seemed like, the city had an ordinance regarding on banning the use of plastics in the supermarket. And if you are having a large number grocery bags, you will end up putting them all in a carton box. I had a total of three carton boxes; after I finished placing all the goods, I flattened them all and decided to tie them up.
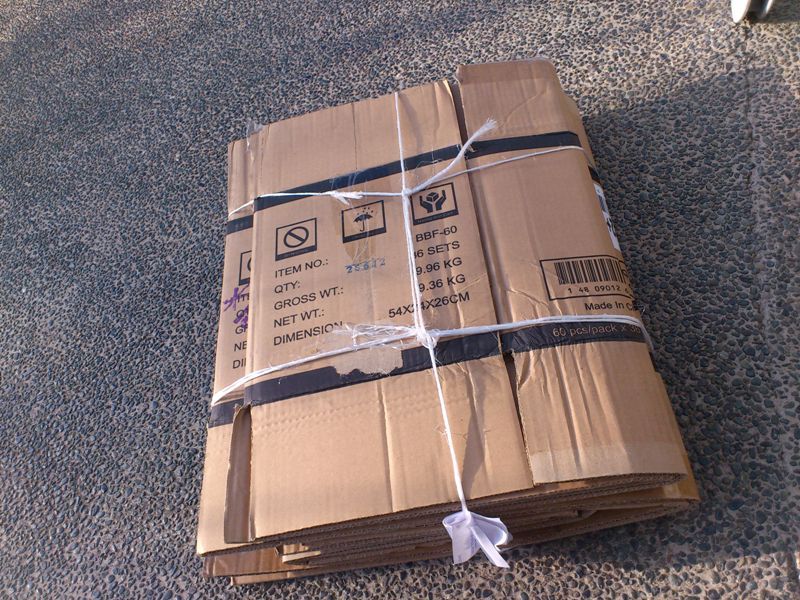


But something in my told me that it seems like I can use these boxes. So I immediately untied them all and I handpicked one of the boxes. So here it is
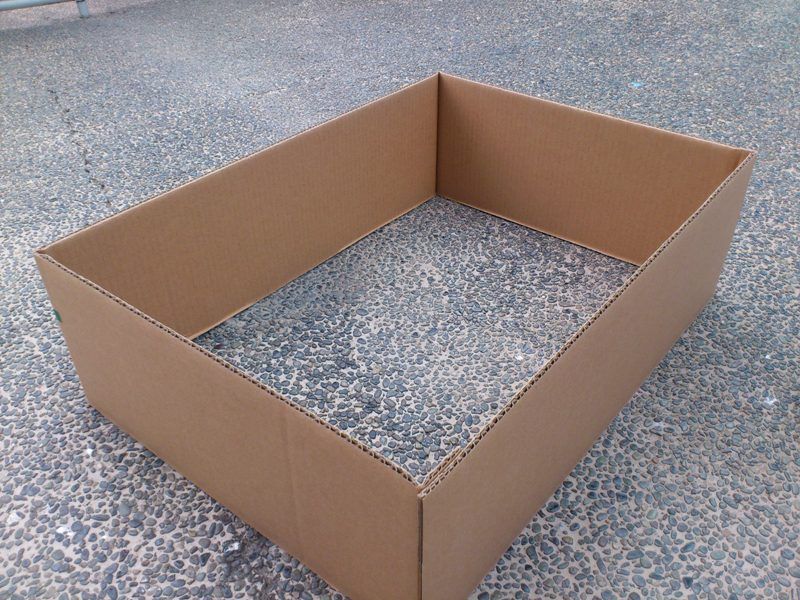


As you can see, there are tiny holes between it and I think that I can use them… Here’s the picture.
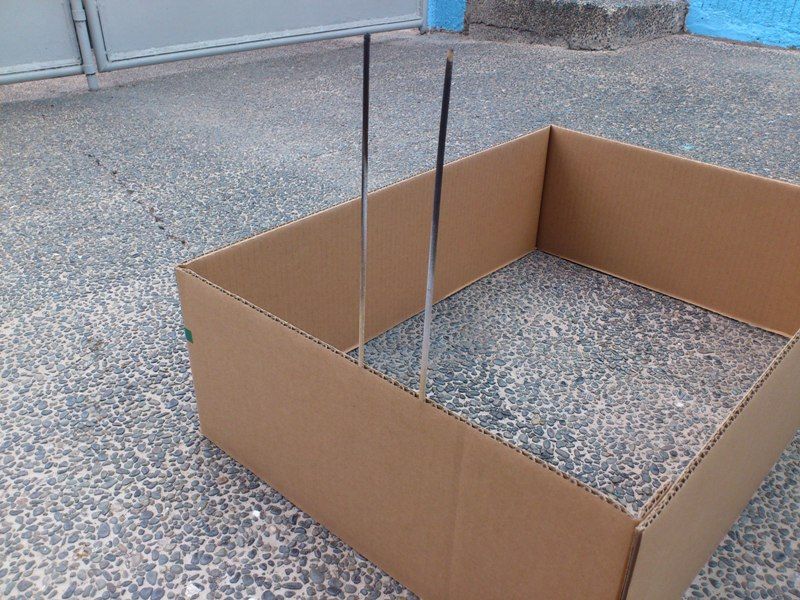


I can use this for painting purposes, and I believe that this is more durable than the styrofoam that we usually use. I never thought that I can use these carton boxes that were given to me as a substitute for the plastic bags, hihi. At first, I thought of them as big trashes, since I do not prefer using carton boxes for storage. At least from now on, I can use it for my hobby. And this will be what I’m gonna use for meantime instead of the usual Styrofoam.

I still need to cut the other boxes in order to fill in the inner part of my BASE box so that I can put more sticks from time to time... Till my next post!
Read more >>

Friday, April 5, 2013

Scribing Panel lines tutorial by DC23

DC23 here just sharing a really old tutorial from my blog. This is basic scribing of panel lines guys... hope this helps! :)

I am not good with scribing panel lines...but I just want to share how I scribe panel lines step by step. I decided to scribe some of the major parts of the Acguy coz the surface is too round for pla plating...well, it can be done...but it's rather difficult than scribing lines along the surface. After taking pics of the Acguy, I realized that I have to add a few more panel lines on the upper arm and forearms of the kit...I will also need to try to scribe on those round shoulders and hip armors...those are tooooo round for pla plates but may also be too round for panel line scribing...will try later. I also added a hole on the chest part to expose the cockpit...will cover this with clear plaplate after painting. Anyways here are some pics...

FIRST, draw your desired pattern, I keep them simple coz I am not good at it and I'll be doing pla plating with most of the parts after anyways...


SECOND, using a Hasegawa needle point scriber...I pierce the corners...


THIRD, I use an eraser template ( thin metal ) to guide me from corner to corner...


FOURTH, I scribe with the Hasegawa needle point scriber and run through it with very light strokes...


FIFTH, I run my Tamiya scriber twice on the groove with light stroke...


SIXTH, I sand the piece with 400 grit sandpaper and will sand it before pla plating with 1200 grit sandpaper...


Tadah, my technique is faster than tapes and other methods that  I know....did all the parts in the pic below in a couple of hours only. hihi


Now here are some pics of the progress of my MG Acguy, will add a few more panel lines on a few parts, then do pla plating madness and clean up the holes...


BTW, I also drilled a hole in the chest part to compliment the collar armor and also sawed the stomach armor into three parts.


UPDATE: 12-20-09 : small update on the holes...

Hello guys, I cleaned up the holes with an art knife yesterday...actually I did this in the office around 3 pm to 7 pm...I was only on duty until 4 pm and while I was waiting for our Christmas party at around 8 pm, I did some much needed cleaning up of the holes...the only uncleaned part was the armors at the head. All of the parts will be further polished with sandpaper and some filing, but it is slowly forming up. Anyways here are some pics...


Read more >>
Related Posts Plugin for WordPress, Blogger...